How to Improve Home Insulation on a Budget: Practical DIY Tips

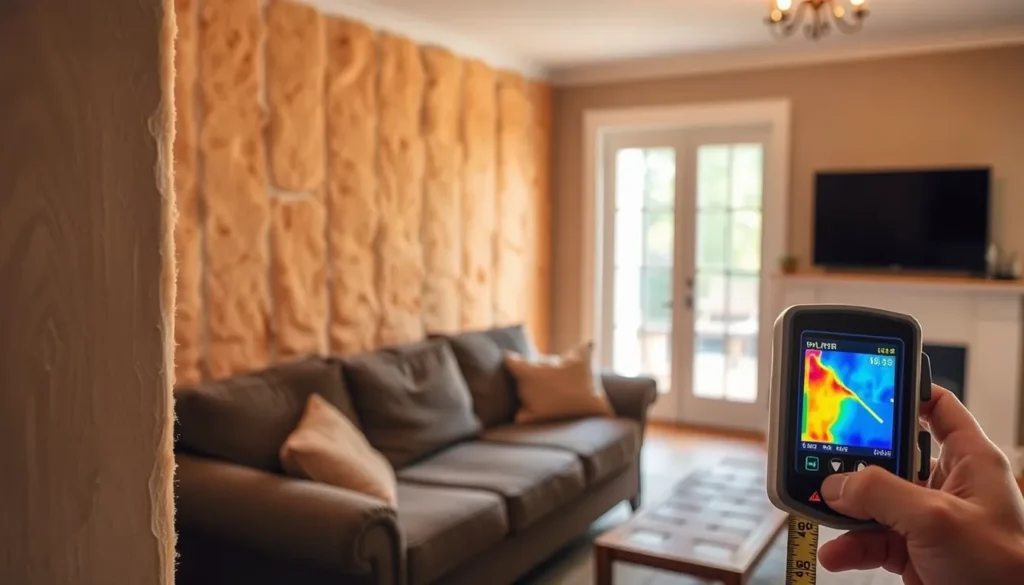
If you’re a homeowner or renter who feels a draft in winter, sees high energy bills, and wants results without hiring a contractor, this guide is for you. It walks you through the basics of heat flow and shows where a modest investment can make a noticeable difference.
By the end you’ll know how to improve home insulation on a budget, identify the most leaky spots, choose affordable R‑value upgrades, and apply air‑sealing techniques safely. The result is a cozier house, lower bills, and confidence that you tackled the biggest energy‑wasting problems yourself.
Understanding How Heat Moves Through Your Home
Heat leaves a house in three ways. Conduction is the direct flow through solid building parts—walls, floors, roof sheathing, and even the framing members that create a thermal bridge. The thicker and less conductive the material, the higher its R‑value, which is simply the resistance to conductive heat flow. A wall with a higher R‑value lets less heat travel from the warm interior to the cold exterior.
Convection occurs when air moves. A draft through a cracked window, an unsealed gap around a pipe, or a leaky attic hatch lets warm indoor air escape and cold outdoor air replace it. That is why air sealing—using weatherstripping, caulking, and careful sealing of penetrations—is often the first, most cost‑effective step in learning how to improve home insulation on a budget.
Radiation is the transfer of heat as infrared energy. Even if a wall is well‑insulated, heat can radiate through gaps or through a poorly installed vapor barrier, which also helps control moisture that would otherwise reduce insulation performance.
Typical pathways where these mechanisms combine are:
- Attic space—heat conducts through roof decking, convects through unsealed attic hatch, and radiates from warm insulation to cold roof.
- Exterior walls—framing studs create thermal bridges, while gaps around windows and doors let drafts in.
- Basement or crawl‑space floor—conduction through slab, convection through foundation cracks, and radiation from moist soil.
- Window and door assemblies—low‑R glazing radiates heat, and missing weatherstripping allows convective drafts.
Understanding these routes lets you prioritize cheap fixes—like adding blown‑in insulation to fill wall cavities, sealing drafts, and installing a continuous vapor barrier—before moving on to larger projects.
Conducting a Low‑Cost Home Energy Audit
You can map your home’s heat loss without expensive equipment. Start with a simple smoke test: on a calm, cold day, light an incense stick or candle and hold it near windows, doors, outlets, and ceiling light fixtures. If the smoke drifts or wavers, air is moving. Your hand works well too; place it against surfaces. A noticeable chill indicates poor insulation or an air leak. This tactile check helps identify where drafts are entering or exiting.
Inspect each major area systematically. In the attic, check for gaps around pipes, wires, and hatchways. Look for daylight shining through the roof deck, which signals missing insulation. Move to exterior walls and feel for cold spots, especially near corners where thermal bridging occurs. Check window and door frames for gaps where weatherstripping may be worn or missing. In the basement or crawl space, look for cracks in the foundation and unsealed penetrations. These areas often suffer from conduction through the slab and convection through gaps.
Create a prioritized list based on effort and impact. Rank issues by how much air leaks you find and how much insulation is missing. Focus first on large gaps and areas with low R-value. A simple checklist helps track these findings. Note the location, the type of loss (air leakage vs. poor insulation), and the estimated difficulty of the fix. This data-driven approach ensures you spend your budget on high-impact repairs. By pinpointing exactly where heat escapes, you can target your DIY efforts effectively, ensuring that every dollar spent on caulking or blown-in insulation yields the greatest return on your energy bills.
Effective Air‑Sealing Strategies You Can Do Yourself
Start with the largest gaps first. Windows and doors are common sources of drafts. For movable parts, such as door frames and window sashes, install weatherstripping. Choose a material that matches the gap size; foam tape works for small spaces, while V-seal or tubular rubber handles larger recesses. For stationary joints where two surfaces meet permanently, use caulk. Silicone is ideal for bathrooms and kitchens due to moisture resistance, while latex caulk is easier to paint over in living areas. Apply a smooth, continuous bead to create an airtight seal.
Move to electrical outlets and light switches. Remove the cover plate and inspect the drywall behind the switch box. If you see daylight or feel air movement, inject expanding foam or apply high-temperature caulk to fill the voids. This prevents heat loss through the wall cavity without compromising electrical safety.
Plumbing penetrations in basements and utility walls are often overlooked. Where pipes enter the floor or wall, pack the gap with fiberglass insulation wrapped in tin foil or use a specific pipe sealant. This stops cold air from rising into the living space.
Attic access points require special attention. Recessed lighting fixtures can be major leak points. If your fixtures are not airtight, consider replacing them with IC-rated models or installing a retrofit airtight kit that seals the fixture to the drywall and adds insulation around the housing.
For attic hatches, ensure the lid fits snugly. If it rattles, add a foam gasket around the perimeter. If the hatch is missing, build a simple insulated box with a tight-fitting lid. These small but critical air sealing tasks significantly reduce thermal bridging and stop drafts before they reach conditioned spaces, improving overall comfort and efficiency.
Choosing Affordable Insulation Materials and Where to Apply Them
Once you have sealed the major leaks, adding insulation becomes the next logical step. The right material depends on the specific area you are addressing and its R-value potential. For most homeowners, fiberglass batts offer the most accessible entry point. They are lightweight, easy to cut, and fit standard wall and floor cavities well. When installing batts, ensure they fit snugly without compressing; compression reduces the trapped air pockets that provide the thermal resistance. Safety is critical: always wear a mask, goggles, and long sleeves when handling fiberglass to avoid skin irritation and inhalation.
Rigid foam board is ideal for areas where space is tight or where thermal bridging is a concern, such as basement rim joists and crawl space walls. It provides a higher R-value per inch than fiberglass and acts as a solid barrier. When using foam board, pay attention to the vapor barrier rating. In colder climates, the vapor-retardant side should typically face the warm side of the assembly to prevent moisture migration into the material. Apply it with adhesive and mechanical fasteners to ensure a secure, airtight seal.
Blown-in cellulose is an excellent option for filling irregular cavities, hard-to-reach attic spaces, or topping off existing insulation. It flows around obstructions like wiring and pipes, creating a dense, continuous layer that minimizes air pockets. While often installed by professionals, some DIY kits are available for smaller areas. Ensure the material is properly tamped down to prevent settling, which can reduce its effectiveness over time.
Reflective foil insulation is less effective in still air but can be useful in tight spaces like crawl spaces where radiant heat gain is a primary issue. It works best when facing an air gap. Choose materials based on the specific thermal dynamics of each room. Attic floors benefit from deep layers of batts or cellulose to slow heat escape. Crawl space walls require rigid foam to insulate the ground contact. Basement rim joists need rigid foam to break the thermal bridge between the foundation and the framing. By matching the material to the location, you maximize the impact of your budget while maintaining a safe, efficient home envelope.
Maintaining and Verifying Your Improvements
After installing new insulation and sealing drafts, your work isn’t finished. Materials shift over time, and weather changes can reveal weak points in your home envelope. Regular maintenance ensures your upgrades continue to perform as intended, protecting your investment in energy efficiency.
Start by tracking your utility bills. Compare heating and cooling costs year-over-year, accounting for weather variations. A sudden spike often indicates a new draft or a failure in your air sealing efforts. Keep a simple log of monthly usage to spot trends early. If you notice a significant increase, inspect the areas where you recently applied weatherstripping or caulking. Tape can degrade, and foam may shrink or pull away from surfaces over time.
Perform periodic visual and tactile checks. Walk through your home on cold days, feeling for cold spots or air movement near windows, doors, and outlets. Use a flashlight to look for gaps in the attic or behind ceiling fixtures. If you have an infrared thermometer, scan walls and floors to detect temperature differences that might signal thermal bridging or settling insulation. Blown-in insulation can settle in attics over months, reducing its effective R-value. Check the depth of the insulation periodically; if it has compressed, top it off to restore the original level.
Monitor for moisture issues as well. Vapor barriers and air sealing trap moisture if not done correctly. Look for condensation on windows, musty odors, or damp spots in basements and crawl spaces. Address any leaks immediately to prevent mold growth and insulation degradation. By staying proactive, you maintain the integrity of your home’s thermal envelope and keep energy bills low.
